
Uploading a video recording to Media Hopper Replay will automatically generate a transcript for it, and make it available for students in their course’s ‘Lecture recordings’ link.
Upload to Media Hopper Replay
Find the Media Hopper Replay link to the lecture recordrings in your Learn course and open it.
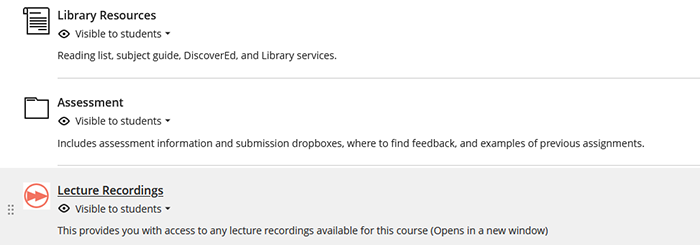
A new tab or window will open, showing the course page and all recordings/scheduled classes.
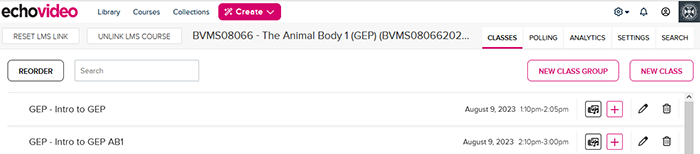
- Near the top-right of the page, click the NEW CLASS button.
- Enter the name of the lecture recording (or tutorial etc) you want to upload. Click OK when done.
- Keep to naming convention: “course code and lecture number – lecture title”.
- Ideally set the date & time of the recording.
- Click the plus [+] icon (at the right-hand end of the new ‘class’ you added), select Add video.
- Click the Upload a file button.
- Drag and drop your video file onto the ‘Select Files to Upload’ area of the window.
- With the file listed, click the Upload button.
How students view the transcript
After you upload the video, Media Hopper Replay will take half an hour or so to auto-generate the transcript.

To view the transcript, open a video in Media Hopper Replay, then click the ‘Transcript’ icon in the top-right. The transcript text will highlight as the video is played.
Subtitles
It is possible to apply the Transcript to the ‘Closed Captions’ for the video – but it is best only to do this if the Transcript has been corrected.
See the Editing Transcripts created by Media Hopper Replay guide on the Media Hopper Replay website: