
This guide is for R(D)SVS staff with Instructor access to a Learn course.
Staff and Students can access Groups from the tab at the top of the screen.

Creating Groups
To set up Groups in a course follow the steps below:
Go to the Course for which you wish to create the Group.
Click on the Groups tab at the top of your course page.
Click on the plus + sign in the top right of the page to create a ‘New Group Set’.

The screen shown below will appear. Name the Group (eg ‘Assignment Groups’).
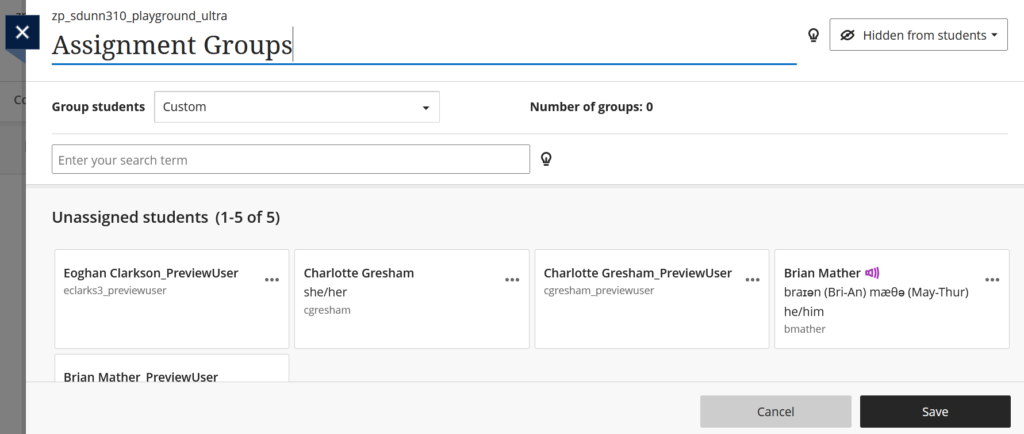
Set the Group as Visible to Students (you can do this at a later date if you do not want students to see this yet).

Enrolment Types
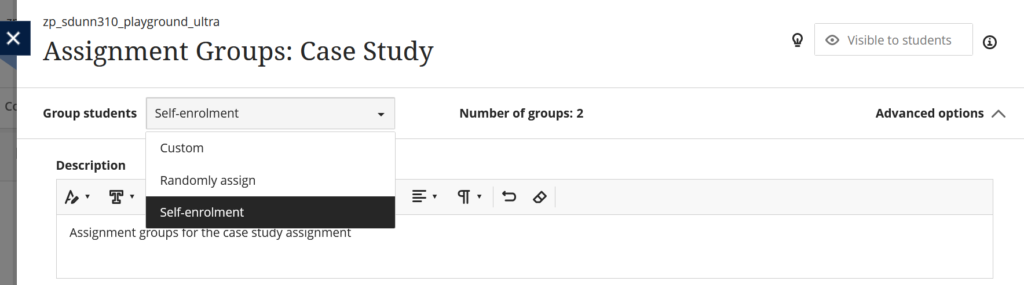
Custom
- Custom grouping allows you to manually assign students to groups:
- Click a student or any number of students to highlight.
- Click the ellipsis menu (…) on a highlighted student.
- Select group to add student(s) to from drop down menu.
Randomly Assign
- Randomly assigns students between the required number of groups.
- Minimum two groups.
Self-Enrolment
- Students can choose a group to join, up to the maximum number of members per group.
- You can only select Self Enrolment once you have made the groups Visible to students.
- Minimum two groups.
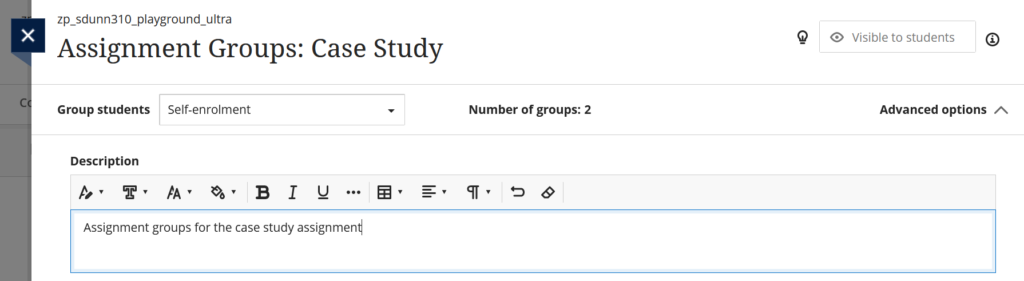
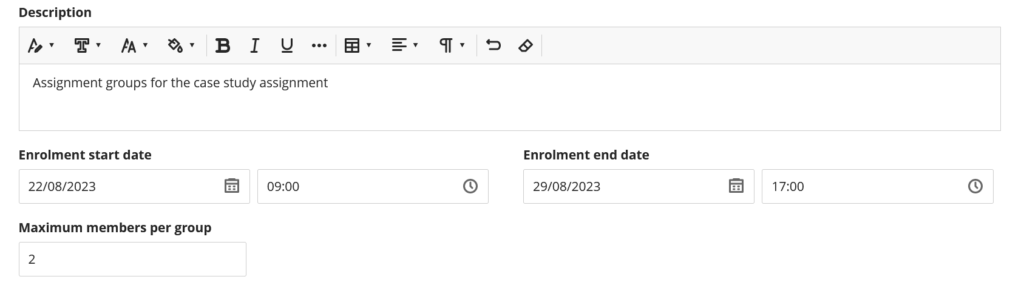
Enter your description (explain the purpose of the group – eg ‘groups for assignment’).
You can adjust the number of groups later – by default 2 groups will be created.
It is NOT possible to create a single group in Learn Ultra. To create a Sign Up sheet for an activity see the instructions here:
Enrolment dates and group sizes
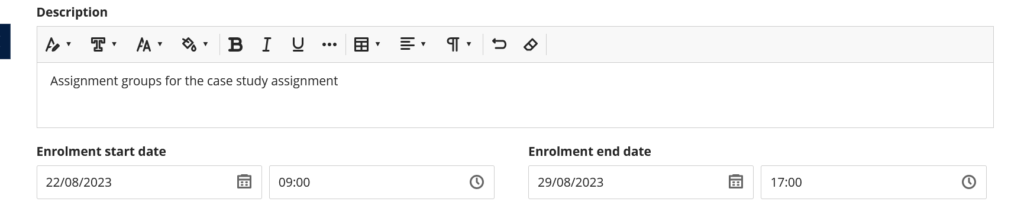
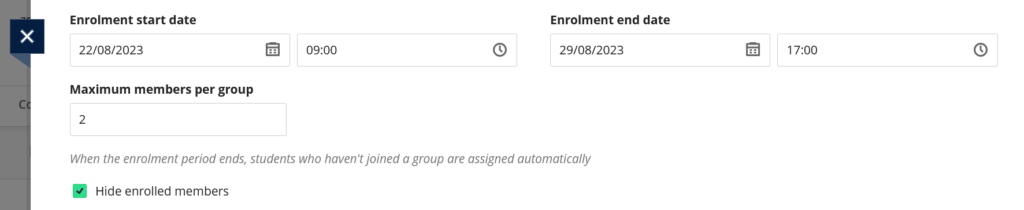
If you want to delay/restrict the time they can join the group, set a date (the group will be visible but with a message to say when enrolment starts/ends).
Type the maximum number of members you wish to allow each group to have.
Show/Hide enrolled members as you prefer. Bear in mind some students may choose a group based on peers if they can see other enrolled members.
Scroll down the page, past the list of students to see the groups created.
To add additional groups, or remove groups, click on the plus icon + as shown below.
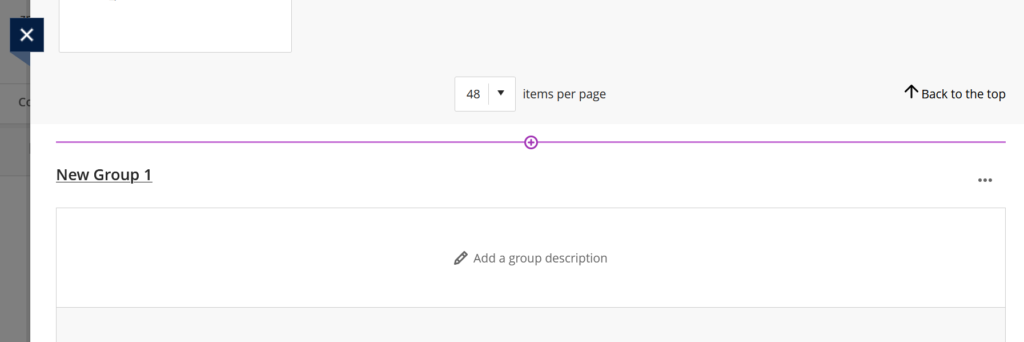
Rename groups and add descriptions if necessary.

Click Save to create the groups.
