
You can use Media Hopper Create’s Desktop Recorder to record a lecture, or a simple talking head video, or to demonstrate software applicatons etc.
If your video is created or uploaded into Media Hopper Create, then we are able to take advantage of its subtitling features, to help with accessiblity (although the auto-subtitles will need to be checked for accuracy).
Common issues
When recording a lecture, you record the entire lecture in one sitting – the following are some queries that have come up in the past:
“I recorded my video and then found my microphone wasn’t set properly”
- Make sure you record a test of thirty seconds or so to make sure everything’s working before recording your presentation.
“If I make a mistake in my 50-minute recording, I have to record it all again”
- It is better to provide students with shorter ‘bite sized’ recordings.
- Try to record smaller (e.g. 15 minute) chunks – if you make a mistake in one recording, you only need to re-record that one.
- You can use the editor in Media Hopper Create to edit out mistakes in your recordings.
“Media Hopper Create’s Desktop Recorder takes all my bandwidth and hours to upload my recording”
- If your computer is on WiFi, you could try moving it closer to your router, or you can connect to your router using an Ethernet cable.
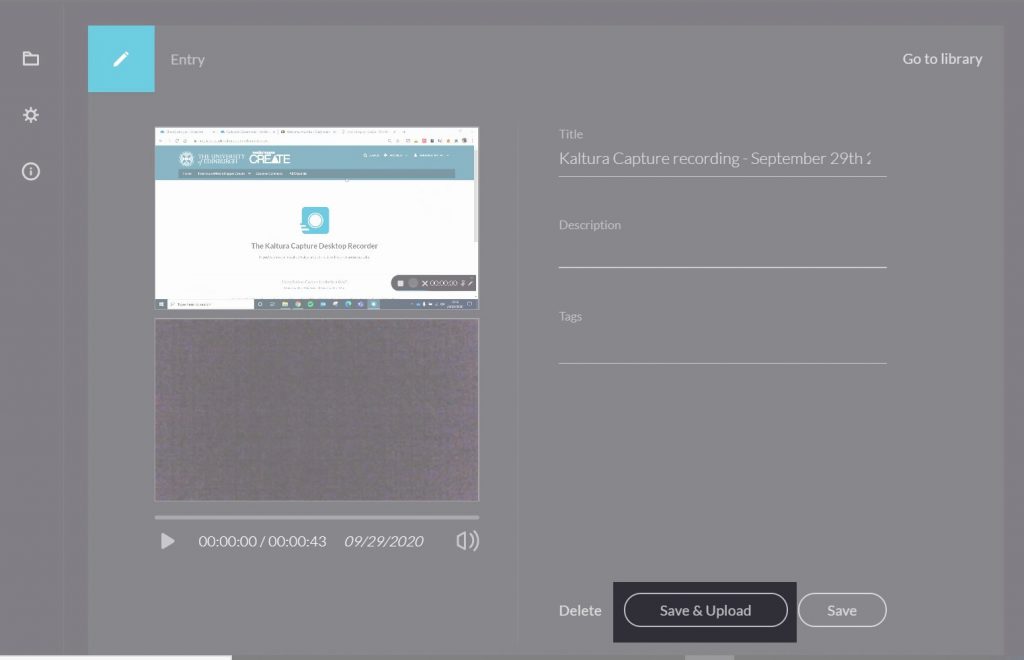
- While you are creating your recording, the footage is recorded to your personal computer, but when you finish you have the option to upload it to Media Hopper Create. At that point, you can choose to ‘Save’ instead of ‘Save & Upload’ – if you ‘Save’ it, you can:
- return at a later date to upload it from Kaltura Capture (e.g. if you have recorded on a laptop, and can use a faster Internet connection later).
- find the recorded file on your computer, and send it to someone else to upload (e.g. on a USB stick).
“The editor in Media Hopper Create is very slow and clunky”
- Media Hopper Create’s editor is an online editor, and its performace is dependant on your Internet connection. If you are finding it hard to use, and have some simple trimming edits to make, you can send the DEU a list of the timecodes in your video where you would like to make the edits, and ask if we are able to do them for you.
“Can I create subtitles for my video?“
- You can email the IS Helpline to request that your video be auto-subtitled. The accuracy is improving, but it would still be necessary to check and correct the subtitles before using them.
Recording with the Desktop Recorder
Using Media Hopper Create’s Kaltura Capture Desktop Recorder involves the following general steps:
- [One time only] Install the Media Hopper Create ‘Desktop Recorder’ on your computer (aka ‘Kaltura Capture’).
- If recording a lecture – use the Vet School PowerPoint template for your PowerPoint slides.
- Ideally plug a headset into your computer – this will improve the quality of your recorded narration.
- Visit Media Hopper Create
- Log in using the menu at the top-right of the page.
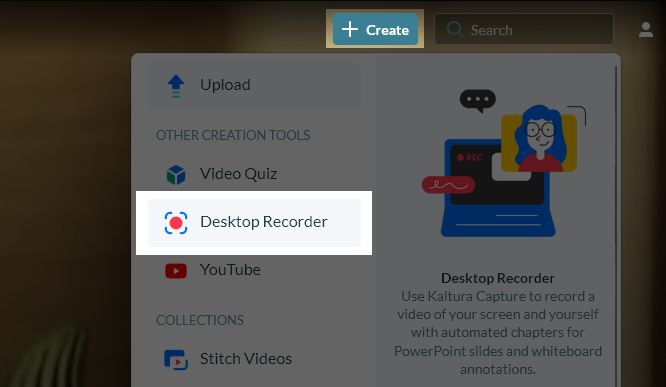
- From the + Create menu near the top-right, select Desktop Recorder.
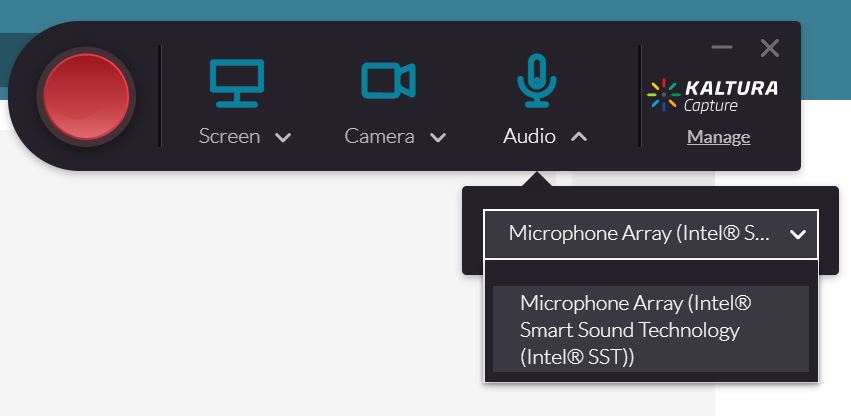
- When the Desktop Recorder toolbar opens, click the arrows underneath each icon to make sure you have the correct input selected. Pay particular attention to the Audio input. You can also click an icon to disable/enable it’s input.
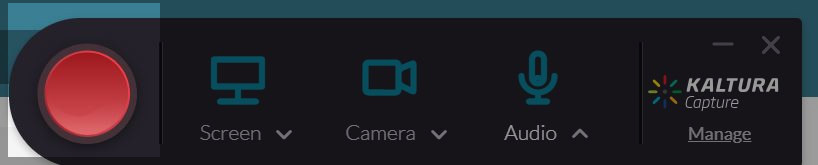
- Click the big red button to start recording.
- Tip: Once you start recording, you can minimise the recording toolbar so it doesn’t appear in your video. Click the horizontal-line in the top-right of the toolbar.
- Anything on your screen will now be recorded, so you can:
- Present your PowerPoint full-screen, and talk through it as you normally would in a lecture theatre.
- Talk while demonstrating the use of a software package on your computer.
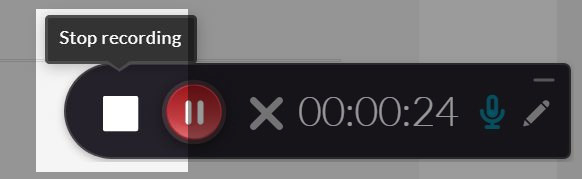
- When you have finished recording, click the square ‘Stop recording’ icon in the recording toolbar, and confirm you want to stop.
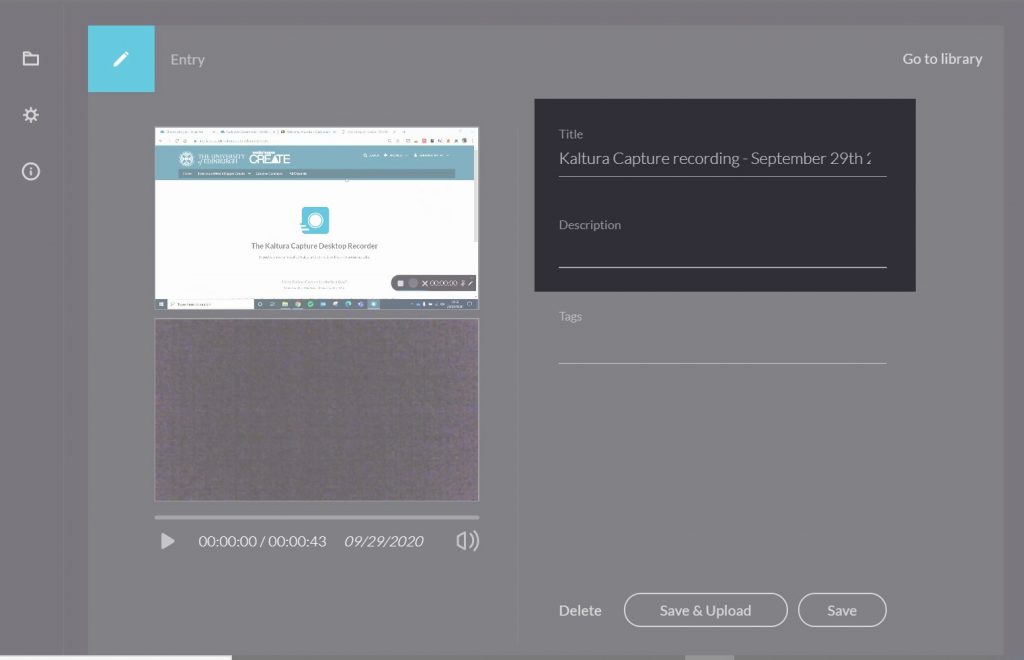
- Enter a Title and Description for your video, and click the Save & Upload button.
- Set the meta data for your video.